Deploying Windows with PXE network boot is a robust solution for installing Windows on multiple computers. This approach allows you to clone a computer over the network effectively. By using PXE boot, you can bypass the need for physical installation media, making the process more efficient. How to deploy Windows with PXE network boot ensures uniformity and conserves time. Following a detailed, step-by-step method offers clear guidance and minimizes mistakes. Becoming proficient in this technique boosts your IT expertise and improves network deployment efficiency.
Methode 1. Deploy Windows with pxe network boot via a hard drive cloning software (easiest way)
Use the recommended tools to simplify deployment. Start by preparing two computers: one to act as the PXE server and another to serve as the PXE client (the client machine must be connected via a wired network).
Download and install WittyTool DiskClone, then launch the program.
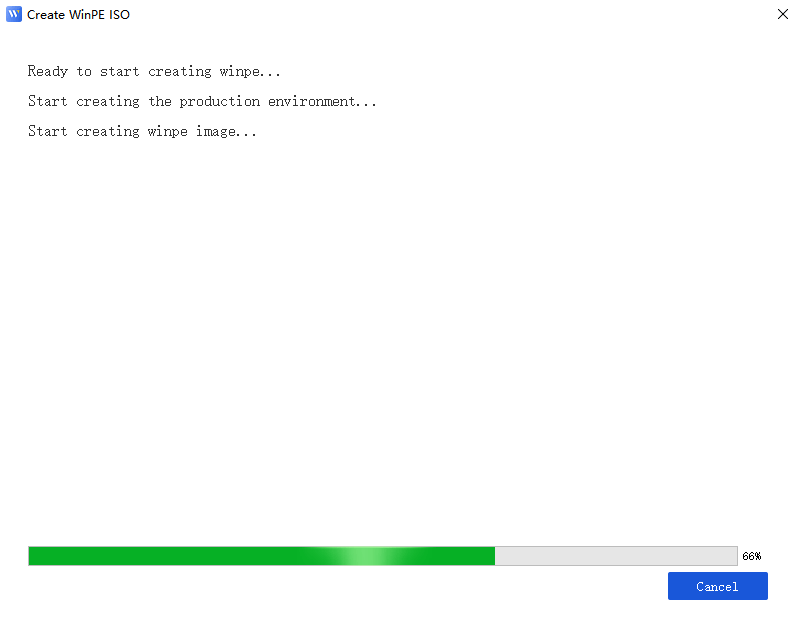
First, go to the Tools tab and click the PXE icon to start the PXE service. WittyTool DiskClone will automatically create a WinPE environment.


If your firewall is enabled, grant network permissions to DiskClone, or the PXE service may not function correctly. Once PXE is successfully enabled, the “PXE” button will change to “Stop PXE.”
Next, configure the target machine to boot from PXE. Select PXE as the boot option, press F10 to save, and restart the machine.
PXE will load WinPE for booting. Once loading is complete, you’ll enter the WinPE environment of WittyTool DiskClone, where disk cloning can be performed.
Methode 2. Deploy Windows with pxe network boot with a more complex way
BIOS Setup and PXE Deployment
Accessing the BIOS
- Press F2 during startup to enter the BIOS.
- Navigate to the Boot Menu using the arrow keys and locate the Network Boot setting.
Enabling Network Boot
- Select and enable Network Boot by pressing Enter.
- Ensure PXE support is active, and choose either IPv4 or IPv6.
Saving and Exiting BIOS
- Press F10 to save changes, confirm, and exit. The system will restart, and Network Boot should be active.
Setting Up the PXE Server
Installing PXE Server Software
- Choose suitable PXE software (e.g., WDS) based on your network requirements. Download and install it on a network-connected server, following on-screen instructions.
Configuring the PXE Server
- Assign a static IP and configure DHCP for PXE boot. Define boot options in the software interface, selecting the Windows PE image.
Configuring Windows PE
Creating a Windows PE Image
- Download and install the Windows ADK. Use Deployment and Imaging Tools to create a new Windows PE image, specifying the architecture.
Customizing Windows PE
- Add necessary drivers and tools using the DISM tool. Test the environment to ensure it’s ready for deployment.
Executing the Deployment
Booting from PXE
- Enter the boot menu, select Network Boot, and confirm.
Installing Windows
- Follow the Windows setup prompts, configure initial settings, and complete the installation.
This process streamlines network-based Windows installations using PXE boot for efficient system cloning.
Common Issues and Solutions
Network Connectivity Problems
Network connectivity issues can disrupt PXE booting. Check the network cables for secure connections. Verify that the PXE server has a stable IP address. Ensure that DHCP settings allow PXE booting. Test the network connection with a different device if needed.
BIOS Configuration Errors
BIOS configuration errors often prevent successful booting. Revisit the BIOS settings to confirm network boot is enabled. Ensure that PXE support is active for either IPv4 or IPv6. Save changes and restart the computer to apply settings. Double-check the boot order to prioritize network booting.
Conclusion
Review the deployment process to ensure each step is clear. Address common issues by checking network connections and BIOS settings. Explore additional resources to deepen your understanding of PXE network booting. Share your feedback and experiences to help others in the community. Your insights can improve future deployments and foster collaboration.

