When you see a reallocated sector count warning on your hard drive, it’s natural to feel concerned. After all, reallocated sectors mean that your drive has identified bad sectors and moved the data to healthy ones. But how many reallocated sectors are too many? Is there a way to fix the reallocated sector count and prevent further damage? In this guide, we’ll walk through everything you need to know about how to fix reallocated sector count warnings. You’ll also learn about the best utility to use to fix reallocated sector count, ensuring that your drive stays healthy longer and your data remains safe. We’ll discuss whether the warning signals a time for replacement or if there’s still hope for your drive. Let’s dive into these critical steps to safeguard your storage.
What is Reallocated Sector Count Warning
A reallocated sector count warning is a red flag that your drive is experiencing some level of sector damage, which could be a sign of impending failure. When the reallocated sectors count reaches a number like 000000000009, it indicates that multiple sectors have been found faulty and the drive has remapped them. This can lead to data loss or corruption, especially if it continues to grow. If you’ve ever faced a cloned SSD won’t boot issue or tried to repair bad sectors with limited success, you know how critical it is to address these warnings promptly. In this section, we’ll explore how this issue can cause system instability, impact your data integrity, and the steps you can take to prevent further damage.
What’s the Result of Reallocated Sector Count Warning
The Reallocated Sector Count Warning typically signals that your hard drive is struggling with physical damage, causing sectors to become unreadable. As a result, data that would normally be written to these sectors is instead moved to spare sectors, which can gradually lead to performance degradation and potential data loss. Reasons for Reallocated Sector Count Warning include wear and tear from long-term use, power surges, overheating, or manufacturing defects. Ignoring this warning can result in permanent file corruption, system instability, and in extreme cases, total drive failure. It’s crucial to monitor this count and act quickly before the situation worsens.
How to Fix Reallocated Sector Count Warning
If you’re seeing a Reallocated Sector Count Warning, one of the most effective ways to address the issue is cloning the affected drive with a new one. This approach allows you to transfer your data from the failing drive to a healthy one, reducing the risk of data corruption and drive failure.
A powerful tool like Wittytool DiskClone simplifies this process. With it, you can create an exact copy of your drive, preserving your operating system, files, and settings. The best part? You can even Clone Hard Drive to USB External Drive, making it easy to back up your data to an external source.
Additionally, if you’re looking for a Free USB Disk Clone Tool, Wittytool DiskClone offers a free version that can help you quickly and easily clone your hard drive to a USB device. This method is especially helpful if you want to keep your important files safe while troubleshooting or replacing the failing drive.
By using these cloning tools, you can ensure that your data remains intact and that you’re prepared for any potential drive issues in the future—without the need for a costly repair or replacement right away.
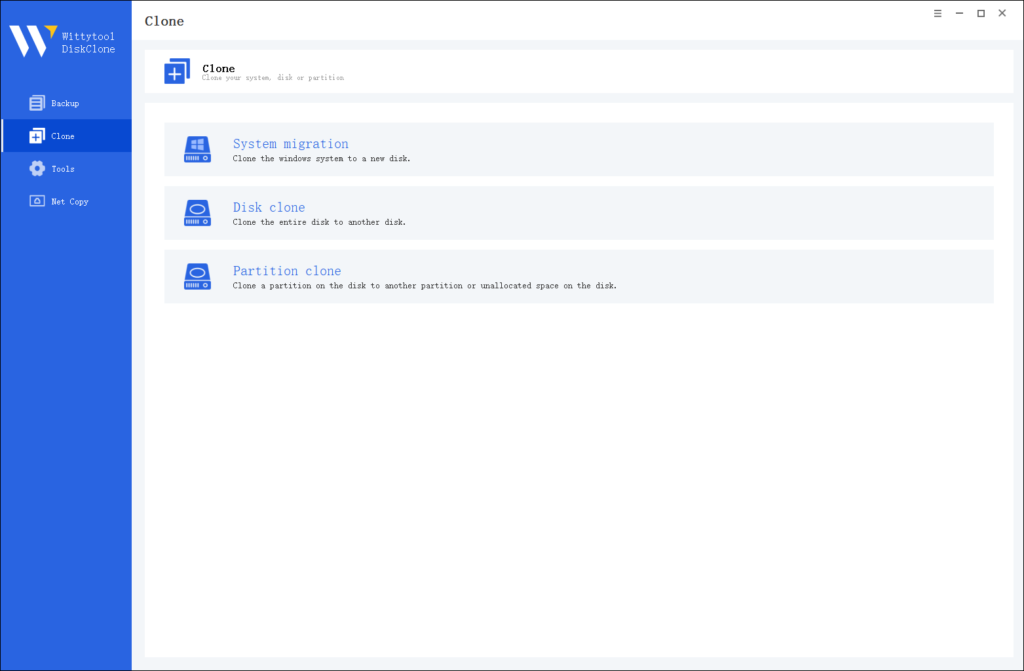
Step 1: Choose Disk Clone Mode
Click on the left panel to access the clone page, then select the disk clone mode.
Note:
During usage, choose the corresponding mode according to your needs. You can read this article about system clone vs system migration to understand the differences in different usage scenarios.
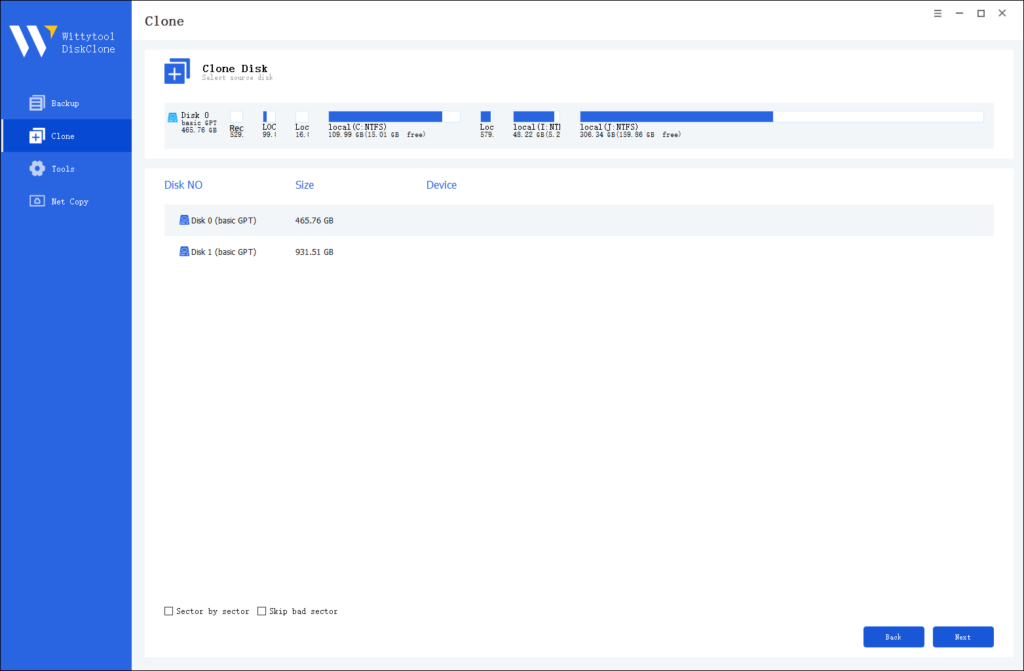
Step 2: Choose Source Disk
Pick the disk from the list view. The layout of the selected disk will be displayed at the top of the list view.
Note:
*Sector by Sector: This option should be selected if the source disk has bad sectors or if the file system on the disk is damaged. It ensures that all sectors on the source disk are cloned.
*Skip Bad Sectors: If the source disk has bad sectors, select this option. Wittytool DiskClone will ignore the bad sectors and clone only the undamaged ones. This method is suitable for older disks that may have bad sectors.
Step 3: Choose Destination Disk
Select the target disk.

Step 4: Resize Partition and Start Cloning
You can resize the partition on the target disk if needed. Click the “Start Clone” button to begin the cloning process.

Conclusion
In conclusion, hard drive monitoring, regular backup, and planned replacement are crucial for safeguarding your data and ensuring hardware longevity. Reallocated sectors serve as an early warning sign of drive failure, and understanding the eight potential causes emphasizes the need for proactive maintenance. Since reallocated sectors can’t be fixed, always back up important data and consider replacing the drive when necessary. Take the steps today to prevent data loss and extend the life of your hardware.