Upgrading your old hard drive (HDD) to a sleek M.2 SSD can feel like giving your computer a jet engine. But how do you transfer your data without starting from scratch? Spoiler: Cloning is your answer! In this guide, we’ll walk you through the process of cloning your HDD to an M.2 SSD—effortlessly and error-free. Let’s dive in.
Why Clone Your HDD to an M.2 SSD?
Before we tackle the “how,” let’s address the “why”:
- ⚡ Speed Boost: M.2 SSDs offer read/write speeds up to 7x faster than traditional HDDs.
- 💾 Space Efficiency: M.2 drives are compact, freeing up room in your laptop or desktop.
- 🔋 Power Savings: SSDs consume less energy, improving battery life for laptops.
- 🛡️ Durability: No moving parts mean fewer failures.
Pro Tip: Ensure your motherboard supports M.2 NVMe/SATA interfaces before purchasing.
Step-by-Step: Clone HDD to M.2 SSD
Phrase 1: Prepare for the Cloning Process
- Back Up Your Data: Always safeguard your files before tinkering with drives.
- Connect Your M.2 SSD: Use an M.2 slot or an external USB adapter.
- Check Storage Capacity: Your SSD must be larger than the used space on your HDD.
Got questions?
- “Can I clone a larger HDD to a smaller SSD?”
Yes – if the SSD’s capacity exceeds the HDD’s actual data size.
Phrase 2: Choose the Right Cloning Software
For simplicity and reliability, we recommend Wittytool DiskClone – a user-friendly tool for beginners and pros alike. Alternatives include Macrium Reflect or Clonezilla.
Why Wittytool?
- ✅ Automatic partition resizing for mismatched drive sizes.
- ✅ Supports GPT/MBR and UEFI/legacy BIOS systems.
- ✅ Minimal clicks, maximum efficiency.
Phrase 3: Clone Your HDD to the M.2 SSD
Follow these steps (using Wittytool as an example):
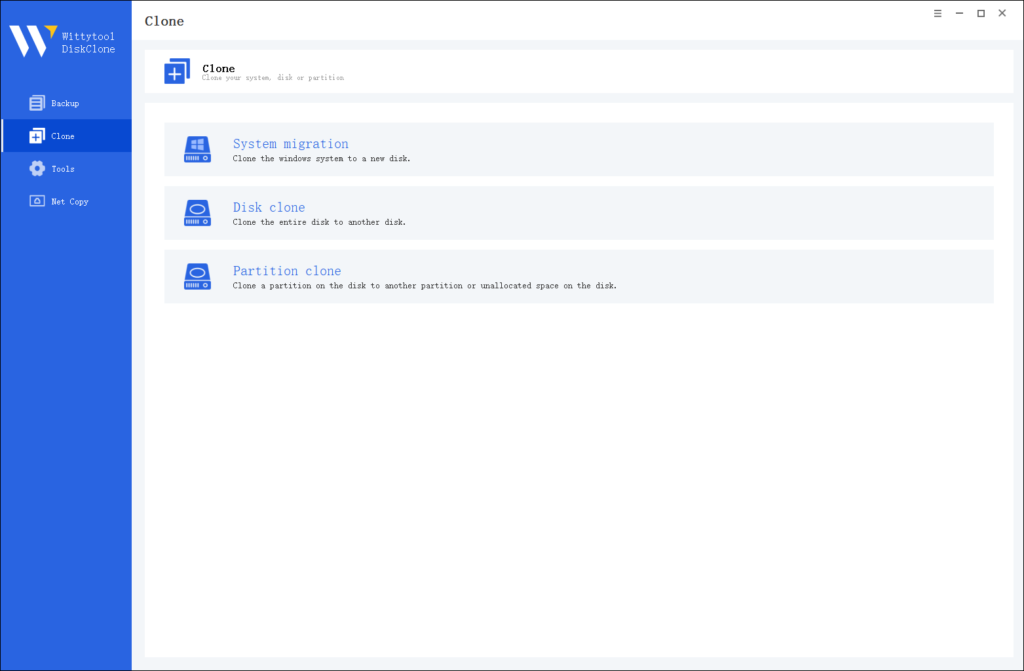
Step 1: Choose Disk Clone Mode
Launch Wittytool Disk Clone and navigate to the main interface. From the left panel, select Disk Clone Mode. This mode is perfect for creating an exact copy of your disk or SD card.
Pro Tip: If you’re specifically looking to transfer data from one SD card to another, check out this detailed guide: how to copy SD card to another.
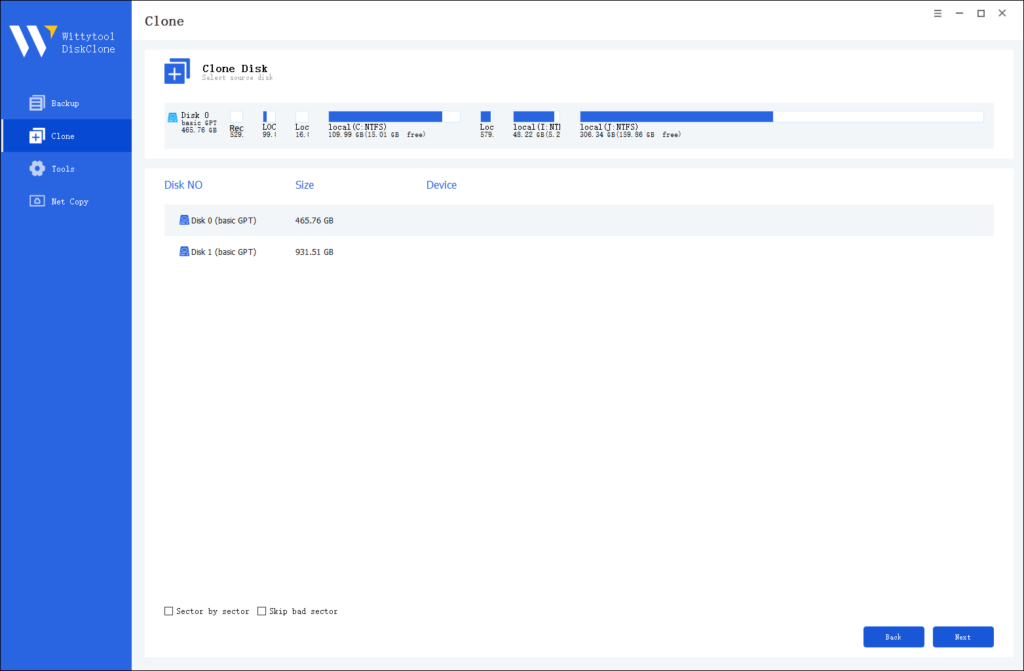
Step 2: Choose Source Disk
Next, select the source disk or SD card you want to clone. The software will display the layout of the selected disk at the top of the list view for easy reference.
Important Notes:
- Sector by Sector Clone: Use this option if your source disk has bad sectors or a damaged file system. It ensures every sector is copied, including damaged ones.
- Skip Bad Sectors: If your source disk has bad sectors, this option allows the software to clone only the healthy sectors, making it ideal for older disks.
Step 3: Choose Destination Disk
Now, select the destination disk or SD card where the cloned data will be stored. Ensure the target disk has enough storage capacity to accommodate the data from the source disk.

Step 4: Start the Cloning Process
Once you’ve selected the source and destination disks, review the settings and click “Start Clone”. The software will handle the rest, ensuring a seamless and accurate cloning process.

Post-Clone Checklist:
- Physically swap the HDD with the M.2 SSD.
- Enter BIOS/UEFI to set the SSD as the boot drive.
FAQs: Quick Answers to Common Queries
Q: Will cloning delete my original HDD data?
A: No! Your HDD remains intact unless you reformat it.
Q: Can I clone a larger HDD to a smaller SSD?
A: Yes—if the SSD’s capacity exceeds the used space on the HDD.
Q: Why isn’t my SSD detected?
A: Check BIOS settings for NVMe/SATA support or reconnect the drive.
Final Thoughts: Enjoy Your Faster System!
Cloning isn’t just about copying data—it’s about preserving your workflow while unlocking next-gen speed. With the right tools and this guide, you’ve avoided reinstalling Windows, apps, or drivers from scratch.
Still Hesitant?
“What if I mess up?” Start with a backup. Experimenting is safe when your data is secured.
Ready to breathe new life into your machine? Your M.2 SSD awaits! 🚀