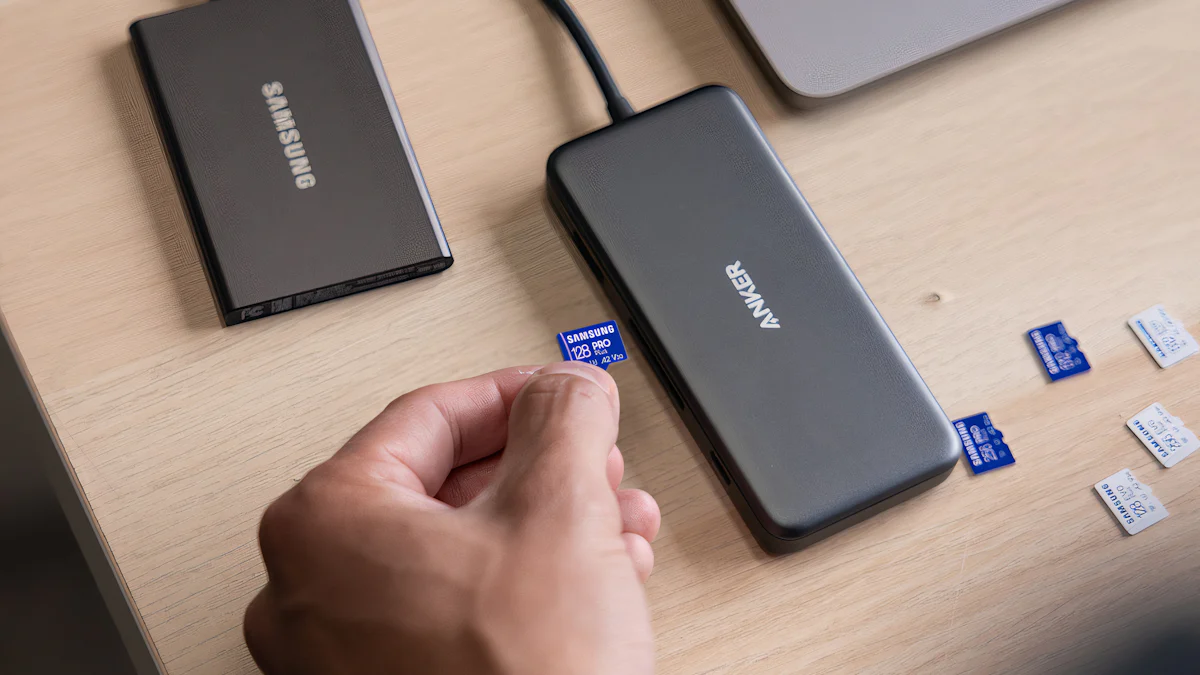
Upgrading or replacing your SSD can significantly boost your computer’s performance. To ensure a smooth transition without losing any data, it’s essential to use the latest tools and methods available in 2024. WittyTool provides a reliable solution for how to transfer SSD to new SSD without losing data. This tool guides you on how to upgrade SSD without losing data, ensuring your files remain intact and accessible.
The Fastest Way to Transfer SSD to New SSD Without Losing Data
Transferring your data from one SSD to another can seem daunting, but with the right tools, you can accomplish this task effortlessly. Wittytool DiskClone stands out as a premier choice for disk cloning. Its intuitive interface makes it accessible even for beginners. You can quickly clone your entire hard drive, including all personal files and applications, without any data loss, for exemple, copy data from one SD card to another. The software’s powerful features ensure a seamless experience, providing peace of mind as you upgrade your SSD.
- Ease of Use: The user-friendly design allows you to navigate the cloning process with ease. Even if you’re new to disk cloning, the software guides you through each step, making the task stress-free.
- Comprehensive Features: With this usb disk clone tool, you can clone entire disks or specific partitions. This flexibility allows you to tailor the cloning process to your needs, ensuring that you replace hard drive without losing data.
- Speed and Efficiency: Wittytool DiskClone performs cloning tasks quickly, minimizing downtime. You can rely on its efficiency to complete the upgrade in record time, allowing you to resume your activities without delay.
- Data Security: The software ensures that your data remains safe throughout the cloning process. You can trust Wittytool DiskClone to protect your files, providing a reliable backup solution.
Now, download and follow the steps to replace old SSD with new SSD:
Step 1: Choose Disk Clone Mode
Click on the left panel to access the clone page, then select the disk clone mode.
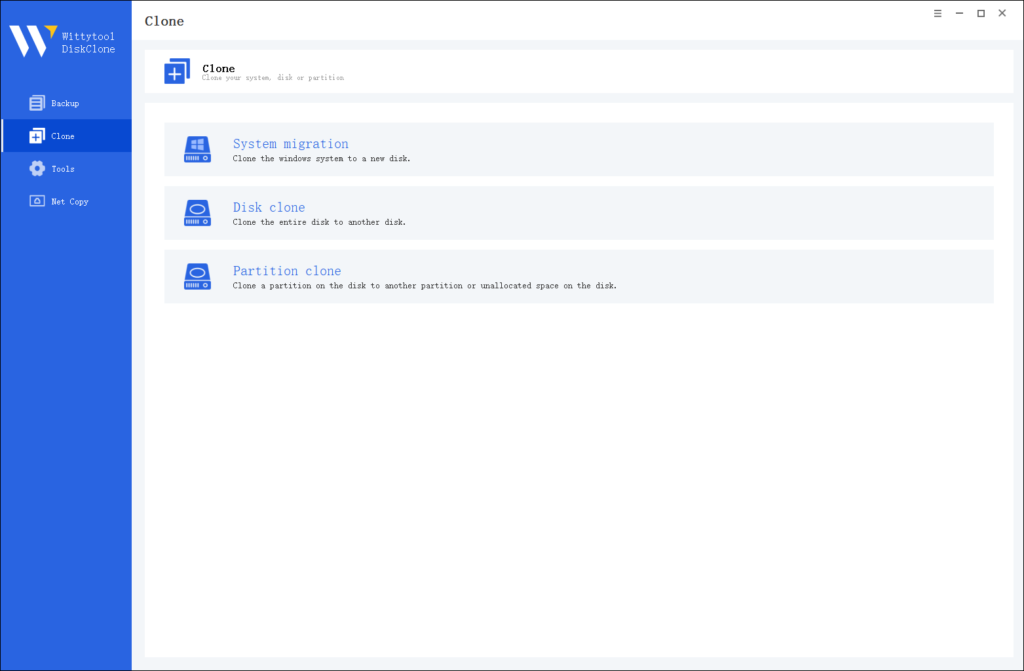
Note:
During usage, choose the corresponding mode according to your needs. You can read this article about system clone vs system migration to understand the differences in different usage scenarios.
Step 2: Choose Source Disk
Pick the disk from the list view. The layout of the selected disk will be displayed at the top of the list view.
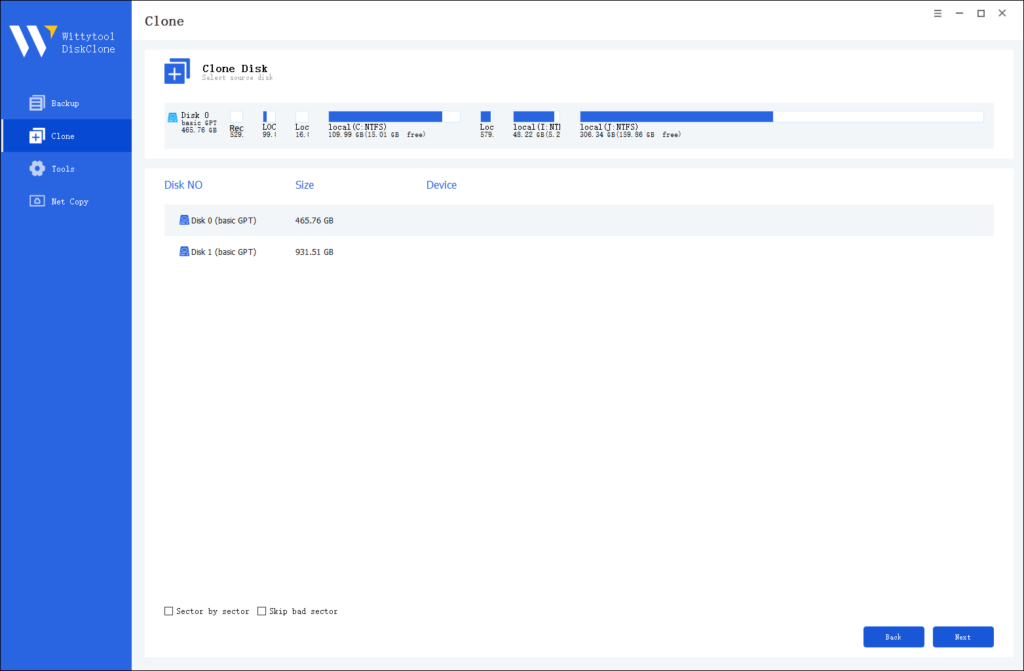
Note:
*Sector by Sector: This option should be selected if the source disk has bad sectors or if the file system on the disk is damaged. It ensures that all sectors on the source disk are cloned.
*Skip Bad Sectors: If the source disk has bad sectors, select this option. Wittytool DiskClone will ignore the bad sectors and clone only the undamaged ones. This method is suitable for older disks that may have bad sectors.
Step 3: Choose Destination Disk
Select the target disk.
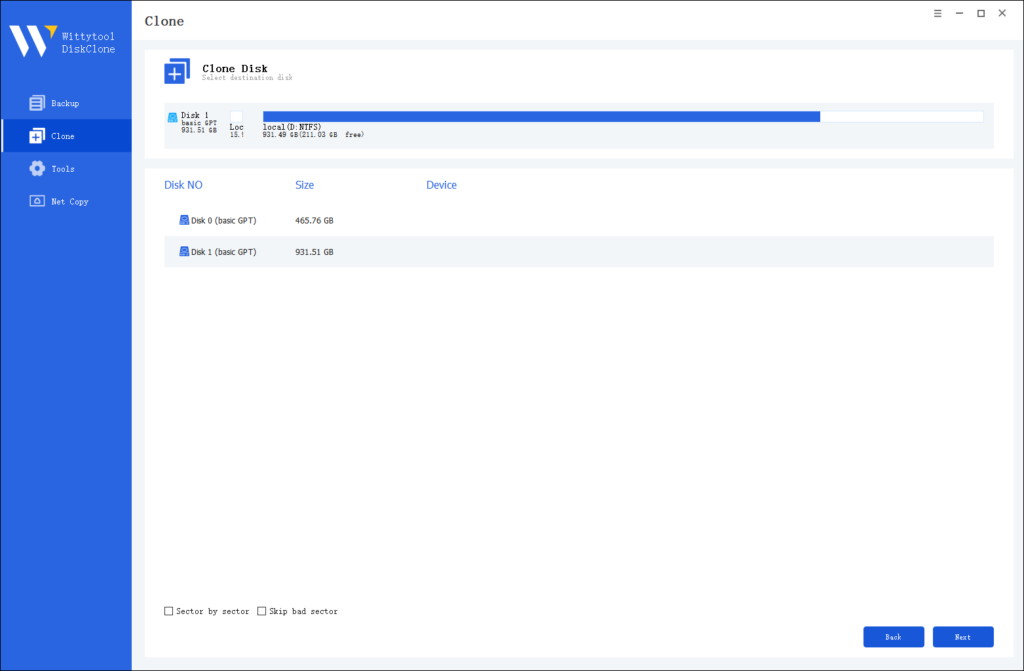
Step 4: Resize Partition and Start Cloning
You can resize the partition on the target disk if needed. Click the “Start Clone” button to begin the cloning process.

By using Wittytool DiskClone, not only you can upgrade your SSD without losing data, ensuring a seamless transition and maintaining the integrity of your files, but also install Windows 10/11 after replacing hard drive.
Why Do You Need to Upgrade SSD to New SSD
Transferring your data from an old SSD to a new one can significantly enhance your computer’s performance. SSDs are known for their speed and efficiency. They offer faster boot times, immediate data transfer, and higher bandwidth compared to traditional HDDs. Upgrading to a new SSD ensures that you maintain these benefits while also gaining additional storage capacity and improved performance.
Key reasons to replace old SSD with new SSD:
- Performance Boost: Newer SSDs provide better system responsiveness and application loading times. This means your computer will run smoother and faster, allowing you to work more efficiently.
- Increased Storage Capacity: As your data grows, you may find that your current SSD no longer meets your storage needs. Upgrading to a larger SSD allows you to store more files without compromising on speed.
- Enhanced System Stability: SSDs generate less heat than HDDs, which helps maintain a cooler system. This reduces the risk of hardware failures and ensures smooth computer performance.
- Durability and Reliability: Modern SSDs, like Crucial SSDs, use flash memory for superior performance and durability. This makes them more reliable for long-term use, protecting your data from potential loss.
- Future-Proofing: Technology evolves rapidly. By upgrading to a new SSD, you ensure that your system remains compatible with the latest software and applications, keeping your computer up-to-date.
By understanding these benefits, you can make an informed decision about upgrading your SSD to a new one.
Read also: Cloned SSD Won’t Boot? 2024 Tips to Make It Bootable
Preparing for the Transfer
Assessing Your Current SSD
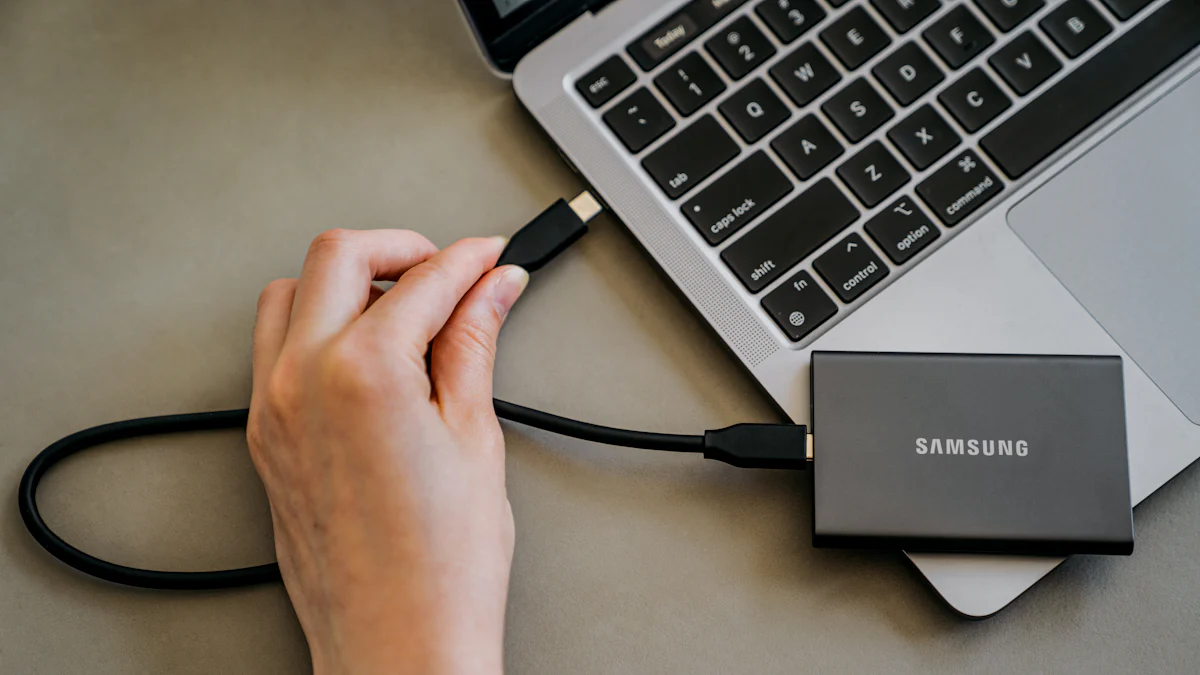
Before replacing data, it’s essential to assess your SSD’s storage capacity and health.
Check Storage Space
Head to “This PC” on your computer to view how much space is used and available. If you’re running out of space, consider upgrading to a larger SSD to handle future data needs.
Evaluate SSD Health
Use tools like Windows Disk Management to check for errors or issues, such as bad sectors or slow read/write speeds. Early detection of problems can prevent data loss during the upgrade.
Choosing the Right New SSD
Selecting the right SSD depends on compatibility, performance, and storage needs.
Check Compatibility
Ensure the new SSD fits your system by confirming the interface type (SATA, NVMe) and form factor (2.5-inch, M.2). This guarantees a smooth installation.
Consider Performance and Capacity
For high performance, the Samsung 990 Pro delivers read/write speeds up to 7,450 / 6,900 MBps. If you need a reliable everyday option, the Crucial MX500 offers 560 / 510 MBps. Choose an SSD that fits both your speed and storage requirements.
Backing Up Your Data
Always back up your data before cloning it to a new SSD.
Use Cloud Storage
Cloud services like Google Drive, Dropbox, or OneDrive offer a secure way to store your files online. Upload your important data to ensure it’s safe and accessible.
Create a Local Backup
For added security, back up your data to an external hard drive or USB flash drive by using Wittytool DiskClone. Using both cloud and local backups ensures your files are fully protected for the SSD transfer.
FAQs
1. Will I lose everything if I replace my SSD?
You won’t lose everything if you replace your SSD correctly. By using a reliable tool like Wittytool DiskClone, you can clone your existing SSD to a new one. This process ensures that all your data, applications, and settings transfer seamlessly. Always back up your data before starting the copy to safeguard against unexpected issues.
2. Can I replace my SSD without reinstalling Windows?
Yes, you can replace your SSD without reinstalling Windows. Cloning your current SSD to the new one preserves your operating system and all installed programs. Wittytool DiskClone simplifies this process, allowing you to maintain your system’s integrity. Ensure both SSDs are connected to your computer during the cloning process for a smooth transition.
3. What to do after changing the SSD?
After changing your SSD, verify that all data transferred correctly. Check your files, applications, and system settings. If everything looks good, you can remove the old SSD. Consider using it as an external drive for additional storage. Regularly update your system and back up your data to keep your new SSD running efficiently.
This highlights the cost-effectiveness of doing it yourself with the right tools.
4. What to do before using a new SSD?
Before you start using your new SSD, it’s crucial to prepare it properly to ensure optimal performance and longevity. Follow these steps to get your SSD ready for use:
- Check Compatibility: Ensure your new SSD matches your computer’s interface and form factor to avoid installation issues and guarantee proper functionality.
- Update Firmware: Check the manufacturer’s website for firmware updates to enhance your SSD’s performance and reliability. Install any available updates before use.
- Format the SSD: Use your computer’s disk management tool to format the SSD. Choose the correct file system (e.g., NTFS for Windows, APFS for macOS) to ensure compatibility.
- Install Necessary Drivers: Visit the manufacturer’s website for any required drivers to optimize SSD performance. Installing these drivers ensures smooth operation.
- Optimize System Settings: Enable AHCI mode in the BIOS for better SSD performance and reliability. Also, disable disk defragmentation to prevent unnecessary wear on the drive.
- Backup Important Data: Back up essential files before transferring them to your new SSD. This safeguards your data in case any issues arise during the process.
- Plan the Installation: Decide if you’ll install the SSD internally or use it as an external drive. Gather any needed tools, like a screwdriver or USB enclosure, to make the installation easier.
Testimonial: “I was given a quote to do this by a local mac repair company for about $400 USD equivalent for a 1TB Samsung drive.”
This highlights the cost-effectiveness of preparing and installing your SSD yourself. By following these steps, you ensure your new SSD is ready for use, providing enhanced performance and reliability for your computer.
Conclusion
You’ve learned how to replace old SSD with new SSD. This process ensures your files remain intact and accessible. Embrace the benefits of your new SSD, like improved performance and increased storage. Use it effectively to enhance your computing experience. Remember, technology advancements make these upgrades smoother and safer. By staying informed, you protect your data and keep your system up-to-date. Upgrading your SSD is a smart move for both personal and professional use.

